Concrastin8 by Mombi
After finishing School of Motion’s Cinema 4D Ascent class, I was given one final brief as a final project. In short, I was tasked with creating a 30 second commercial to promote Mombi’s new app Concrastin8.
Concrastin8 by Mombi
After finishing School of Motion’s Cinema 4D Ascent class, I was given a final project: create a 30-second commercial to promote Mombi’s new app, Concrastin8. Here’s the final product as well as a detailed process breakdown of how I made it.
Project
Self
Role
Designer
Modeler
Character Creator
Character Rigger
Animator
Compositor
Editor
Applications Used
Cinema 4D
After Effects
Marvelous Designer
Premier Pro
Process Breakdown
The process for creating this project started with a few client provided materials such as script, logos, colors, voiceover song and loose direction on tone and style through a set of styleframes.
Inspiration
I created a moodboard of reference images to nail down the look I wanted heavily inspired by clay animation.
Sketching, Storyboarding and Animatic
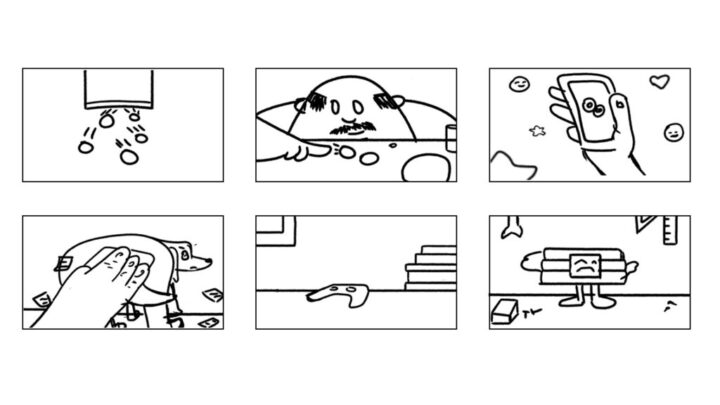
The next phase was to sketch out images for the main story beats using the voiceover track as a guide. Then, I took them and created an Animatic. This gave me an idea of how long each shot would need to be.
Character Creation, Topology and Rigging
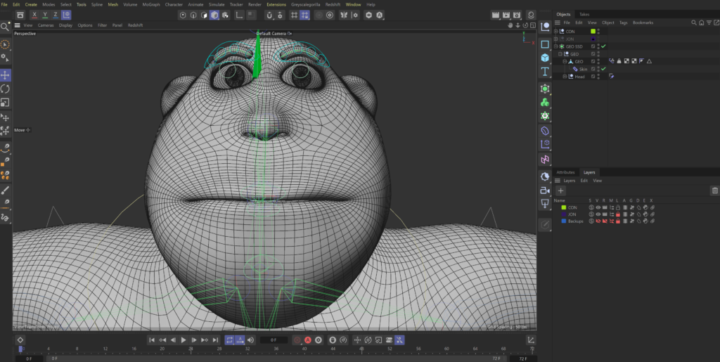
After finishing the animatic, I created the character in 3D. I first created a base model to get the form down, then added topology on top. This is a time-consuming process, as you need to make sure the topology is mostly even and simple enough to rig.
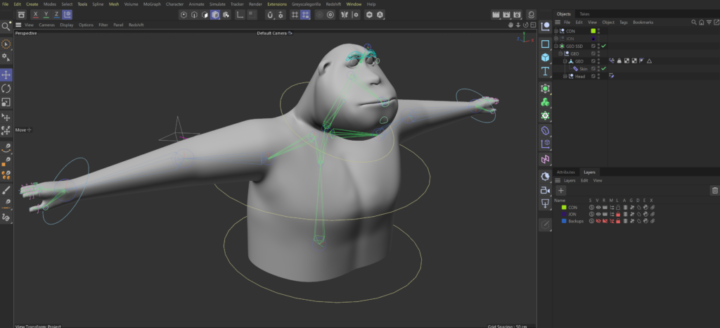
Once the topology was locked in, I created a rig that would allow me to move the character. I created a series of joint chains that would make up the skeletal structure of the character, which would be manipulated with controllers. After creating that structure, I performed weight painting, which is the process of pairing the joint structure to the topology on top.
I then replicated this process by creating the dog and the dynamite.
Modeling
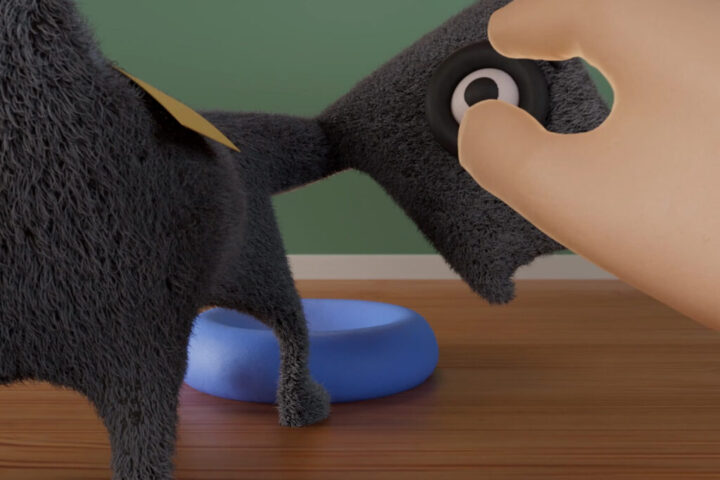
After creating the characters, I modeled all of the other objects that I would need in the finished animation, such as the emoji face, heart, star, plant pot, and dog bowl.
Scene Creation, Cameras and Animation
Once I had all my assets created, I created the sets and placed the cameras based on my sketches. I then did a rough pass of animation to get the timing down for every scene. Once I had that, I started layering on more refined animation with the following passes.
Lighting, Materials and Cloth Simulation
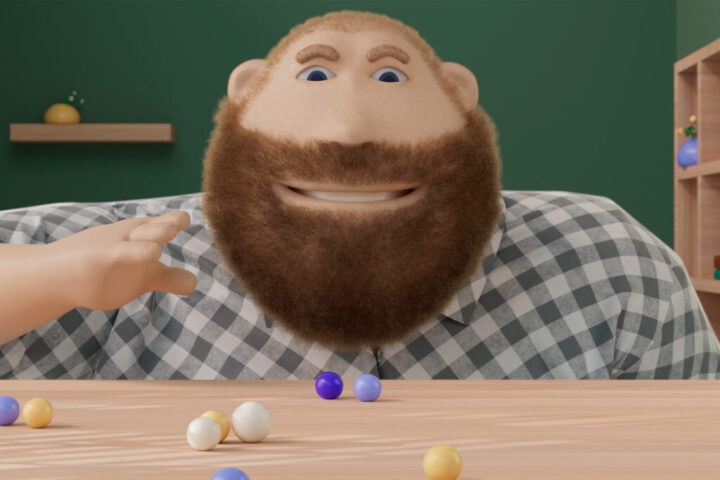
Once the animation was locked in, I moved on to the next phase: lighting and material creation. The subject matter was funny and light, so I used lighting to mimic that tone. For the materials, I wanted a more clay look for the characters, but I wanted to pair that with realistic hair and other materials to create a more unique look.
For the cloth simulation process, I used Marvelous Designer to design a shirt for the character using the animated character mesh. I then imported the shirt into Cinema 4D for use in the final render.
Rendering, Compositing, 2D Animation and Editing
Once my scenes were finished, I set them up to render overnight. This took about a week, as my computer processed every frame of animation and created the mostly final image. Once I had the renders, I took them into After Effects to color correct and add depth passes. A few shots needed compositing work. I added an animated logo to the phone and an animated display to the dynamite. I also created two end logo reveals and placed them over the 3D rendered scenes. Once that was done, I rendered out my final scenes and placed them into the animatic timeline, creating the final edit.
Sound Design
Once the final edit was complete, the last step was to add sound design elements to help sell the animation.

